
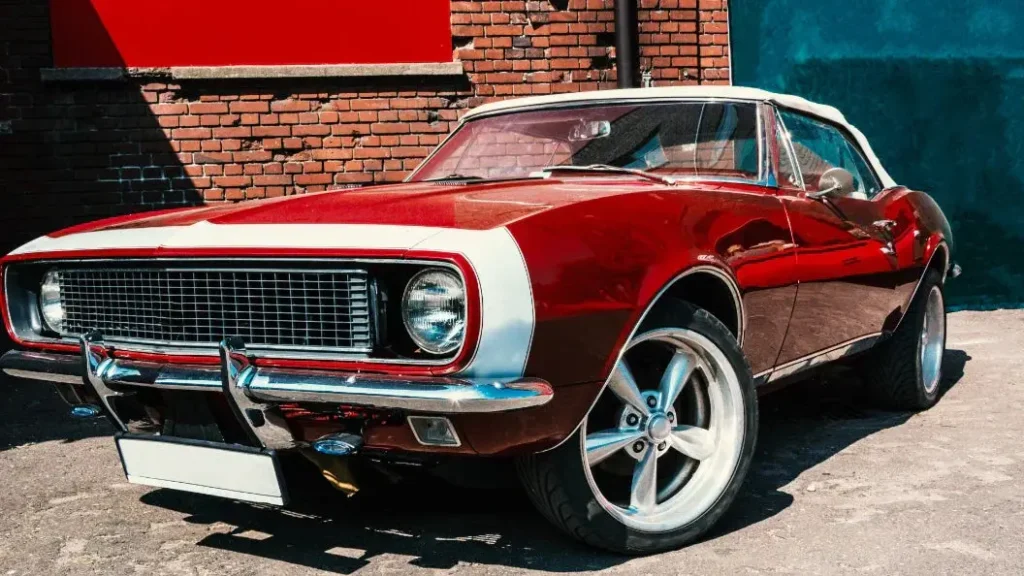
Restoring a muscle car is more than repairing an old vehicle — it is about bringing history, personality, and performance back to life. Many classic cars that sit forgotten in garages or fields still have incredible potential. With the right planning, patience, and knowledge, an aging muscle car can become a powerful machine that looks and feels brand new.
If you are wondering how to restore a muscle car step by step, the process requires more than just replacing parts and applying fresh paint. A successful restoration involves careful inspection, budgeting, mechanical repairs, bodywork, interior rebuilding, and attention to detail. Whether you want to restore a family-owned classic or start your first project, understanding the complete process can save you time, money, and frustration.
In this guide, we will explore the complete muscle car restoration process from start to finish, including expert tips, common mistakes, and practical advice for beginners.
Content
Understanding Muscle Car Restoration Before Starting
A muscle car restoration project is a combination of mechanical engineering, craftsmanship, and creativity. Unlike modern vehicles, classic muscle cars often require specialized knowledge because many original parts are no longer manufactured.
A proper classic car restoration focuses on preserving the vehicle’s character while improving reliability and performance. Some owners prefer a factory-original restoration, while others choose a custom build with upgraded engines, suspension, brakes, and modern technology.
Before starting, decide your restoration goal:
- Full factory restoration
- Performance upgrade build
- Custom street machine
- Weekend show car
- Daily-driving classic
Your goal will influence your budget, timeline, and restoration approach.
Step 1: Choose the Right Muscle Car Project
The first step in learning how to restore a muscle car step by step for beginners is choosing the right vehicle.
Not every old muscle car is a good restoration candidate. A cheap project car may look attractive, but severe rust, missing parts, or major structural damage can make restoration extremely expensive.
Before buying a project vehicle, check:
- Vehicle history
- Rust condition
- Frame quality
- Engine availability
- Original parts availability
- Restoration costs
Popular restoration-friendly vehicles often have strong aftermarket support, making replacement parts easier to find.
A good rule is: buy the best condition car you can afford instead of the cheapest one available.
Step 2: Inspect the Vehicle Condition Thoroughly
A detailed inspection is one of the most important stages of the car restoration process.
Many beginners make the mistake of focusing only on appearance. A shiny exterior does not always mean a solid vehicle underneath.
Inspect:
Body and Frame
Look for:
- Rust under the doors
- Damaged floor panels
- Weak frame areas
- Previous accident repairs
Engine and Mechanical Parts
Check:
- Engine condition
- Transmission performance
- Suspension components
- Brake system
- Electrical wiring
Taking photographs and notes before disassembly helps you understand the original condition and prevents confusion later.
Step 3: Create a Restoration Plan and Budget
A successful restoration requires planning. Many projects fail because owners underestimate the cost and time involved.
Your budget should include:
- Vehicle purchase price
- Replacement parts
- Paint and bodywork
- Engine rebuilding
- Interior materials
- Professional labor
- Unexpected repairs
The cost of restoring a muscle car can vary widely. A basic restoration may cost several thousand dollars, while a complete professional rebuild can reach much higher depending on the vehicle and quality level.
Creating a realistic plan helps prevent unfinished projects.
Step 4: Disassemble and Document Everything
Before removing parts, document the entire vehicle.
Take pictures of:
- Wiring connections
- Engine placement
- Interior layout
- Small hardware locations
Label every part and store components safely.
During a vintage muscle car rebuild, organization makes a huge difference. A restoration can involve hundreds of individual pieces, and losing track of small parts can create unnecessary delays.
Step 5: Repair Rust and Complete Bodywork Restoration
Bodywork is often one of the most challenging parts of restoration.
A vehicle may require:
- Rust removal
- Metal fabrication
- Panel replacement
- Dent repair
- Surface preparation
Professional bodywork restoration requires patience because poor preparation can ruin an otherwise excellent paint job.
A common mistake is covering rust instead of properly repairing it. Rust usually continues spreading underneath paint, causing expensive problems later.
Quality restoration focuses on fixing the problem at its source.
Step 6: Restore the Engine and Mechanical Components
The engine is the heart of any muscle car restoration.
During engine restoration, experts usually inspect:
- Engine block condition
- Pistons
- Cylinder heads
- Fuel system
- Cooling system
- Exhaust system
Some owners rebuild the original engine to maintain authenticity, while others install upgraded components for better performance.
Mechanical restoration may also include:
- Transmission rebuild
- Brake upgrades
- Suspension improvements
- Steering repairs
Reliable performance is just as important as appearance.
Step 7: Rebuild the Interior and Electrical Systems
A restored exterior means little if the interior feels worn out.
Interior restoration may involve:
- Seat repair
- Carpet replacement
- Dashboard restoration
- Door panels
- Instrument repair
Electrical systems in older vehicles often need attention. Damaged wiring, outdated components, and faulty connections should be repaired before final assembly.
Modern upgrades such as improved lighting, sound systems, and climate control can make classic cars more enjoyable without losing their original charm.
Step 8: Paint, Finishing, and Final Assembly
The final stage is where the transformation becomes visible.
A quality paint job requires:
- Surface preparation
- Primer application
- Paint layers
- Protective finishing
- Polishing
The final assembly includes installing:
- Trim pieces
- Glass
- Lights
- Badges
- Interior components
At this stage, patience matters. Rushing the final details can reduce the quality of the entire restoration.
Tools Needed to Restore a Muscle Car at Home
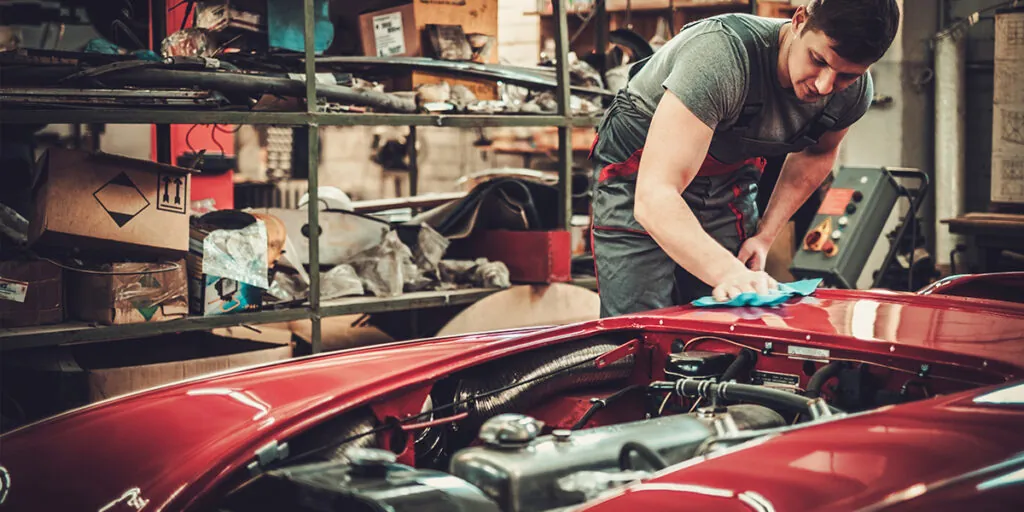
For a DIY project, having the right equipment makes the work easier.
Basic tools include:
- Socket and wrench sets
- Screwdrivers
- Torque wrench
- Jack stands
- Welding equipment
- Sanding tools
- Electrical testing tools
- Engine repair tools
Advanced projects may require specialized equipment, especially for fabrication and painting.
Learning proper tool usage is one of the most valuable automotive restoration tips for beginners.
Common Mistakes to Avoid When Restoring a Muscle Car
Many first-time builders make avoidable mistakes.
Starting Without a Plan
Jumping into repairs without research often creates expensive problems.
Ignoring Rust Problems
Rust repair should happen before cosmetic upgrades.
Buying Too Many Parts Too Early
Always confirm what you actually need before purchasing.
Underestimating Time
A complete restoration can take months or even years depending on complexity.
Trying to Do Everything Alone
Some tasks require professional skills, especially welding, painting, and advanced mechanical work.
Real-Life Case Study: Turning a Forgotten Garage Find Into a Classic Muscle Car
A great example of restoration success is a project involving a 1969 Chevrolet Camaro that had been sitting unused for decades.
The owner purchased the car as a non-running project. At first glance, it looked like a simple rebuild, but inspection revealed rust damage, worn suspension and steering components, damaged wiring, and a seized engine.
Instead of rushing, the owner followed a structured restoration approach:
- Documented the original condition
- Created a realistic budget
- Repaired the body structure first
- Rebuilt the engine
- Restored the interior
- Added reliability upgrades
After months of careful work, the Camaro became a dependable weekend cruiser while maintaining its classic appearance.
The biggest lesson from this project was simple: restoration success comes from planning, not rushing.
How Long Does It Take to Restore a Muscle Car?
The timeline depends on the condition of the vehicle and the restoration goal.
A simple refresh may take several months, while a complete restoration can take years.
Factors affecting time include:
- Availability of parts
- Amount of rust repair
- Mechanical problems
- DIY versus professional work
- Budget limitations
Patience is one of the most important skills in any restoration project.
Final Thoughts on Restoring a Muscle Car
Learning how to restore a muscle car step by step is a rewarding journey that combines mechanical skills, creativity, and passion. A successful restoration is not only about making an old vehicle look beautiful — it is about preserving automotive history and creating something unique.
By choosing the right project, planning carefully, learning restoration techniques, and avoiding common mistakes, beginners can complete an impressive muscle car rebuild.
Whether you are restoring a classic for personal enjoyment or building a show-quality vehicle, every repaired panel, rebuilt component, and finished detail becomes part of the car’s story.
FAQs About How To Restore A Muscle Car Step By Step?
What is how to restore a muscle car step by step?
It is a detailed process of repairing, rebuilding, and upgrading a classic muscle car from inspection to final assembly.
Why is muscle car restoration important?
Muscle car restoration preserves automotive history while bringing old vehicles back to reliable, enjoyable condition.
How much experience is needed for muscle car restoration?
Beginners can start with basic projects, but advanced repairs may require professional skills and tools.
What is the first step in restoring a muscle car?
The first step is choosing a suitable project car and inspecting its overall condition carefully.
Can you restore a muscle car at home?
Yes, many enthusiasts complete DIY restorations with proper tools, planning, and mechanical knowledge.

Safety is Mark’s top priority. His blog isn’t just advice; it’s a guardian angel for drivers. Stay informed about the latest safety features, and drive with confidence, knowing Mark has your back.